How to prepare samples with laser micro-machining
by Emily Newton, Editor-in-Chief, Revolutionized
The sample preparation process will be faster if you use physical techniques like cutting and sawing to remove material in the centimetre range first.
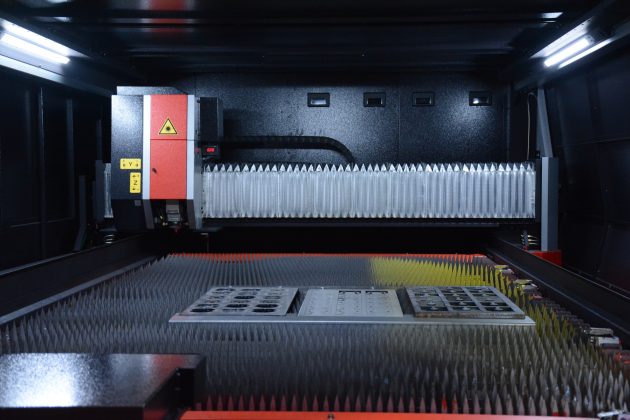
AMADA Ltd. Fabtech 2022. Photo Credit: Madalene Arias.
Preparing product or component samples for analysis is crucial to ensuring manufacturing quality. However, many conventional approaches are either inefficient or imprecise, which is increasingly disadvantageous as parts get smaller and more sensitive. Laser micro-machining provides an optimal path forward.
Like any technology, laser-based sample preparation requires an appropriate approach to work effectively. Here’s how manufacturers can prepare their samples with laser equipment.
1. Choose the right laser
The first step in preparing samples with laser micro-machining is determining the appropriate laser. Shorter pulse lengths deliver smoother cuts and smaller heat-affected zones but come at a higher cost per output power.
Find a laser with adjustable pulses if you must prepare a variety of sample sizes and materials. Use femtosecond pulses for the most sensitive applications and opt for picosecond or nanosecond lasers for less sensitive, higher-volume preparation.
2. Make large cuts with conventional equipment
Next, it’s important to recognize that various tools best suit different parts of the process. Lasers are highly precise, which means larger cuts may take a long time. You can offset this by removing the bulk of the material with faster, less exact machinery before laser micro-machining.
Lasers are best for work within the micrometre range. The overall sample preparation process will be faster if you use physical techniques like cutting and sawing to remove material in the centimetre range first.
3. Use a laser for precision work
Micrometre-level preparation requires laser micro-machining. Unlike contact methods, lasers do not apply mechanical force to pierce materials, so they don’t create weak spots around the cut. As a result, they’re the ideal way to prepare small, sensitive components for analysis.
Be sure to train workers thoroughly on how to use laser equipment. Refer to the OEM’s specifications and guides to ensure you know how to use it correctly. Only allow trained employees to use this machinery, as errors can create significant delays or waste.
4. Use an ion-based system for final analysis
Just as it’s best to use mechanical machining before using a laser, you’ll achieve better results performing the final polishing and analysis with an ion-based system. Focused ion beams (FIBs) are slower than lasers but are better at large-scale scrutiny. You can make the most of this by using lasers for ablation and FIB for the final steps.
Separating these steps will also let you ablate the next sample while analyzing the current one. As a result, you can achieve a higher testing throughput.
5. Monitor your laser micro-machining’s success
Finally, it’s important to set sample preparation benchmarks to compare your laser micro-machining performance. Just as automated production lines require optimization after implementation, you may need to adjust your laser-based preparation process to reach peak efficiency.
Record your current system’s speed, throughput and material waste, then set improvement goals. Use this data as a comparison for your laser system to see how and where you’ve improved the most to inform any necessary adjustments or future investments.
Laser micro-machining is essential for modern manufacturers
Modern manufacturing needs high precision and efficiency. Laser micro-machining meets both those demands if you can implement it properly. Research available laser equipment and follow these steps to test components quickly and effectively.
- The WHO’s international pandemic treaty: Meaningful public engagement must inform Canada’s negotiations
- Local food is not enough — we need a sustainable transition in the food system
